How to Stream With a Laptop: Easy Steps for Beginners
Streaming with a laptop is a great way to share content. It’s easy and convenient.
Whether you want to broadcast games, tutorials, or live events, your laptop can handle it. To start streaming, you need a few things: a reliable laptop, good internet, and software. Streaming allows you to reach a wide audience from the comfort of your home.
You don’t need high-end equipment to begin. With the right steps, you can set up a smooth and professional stream. This guide will walk you through the basics. Learn how to get started and make your stream look great. Ready to dive in? Let’s explore how you can stream with your laptop.
Credit: www.youtube.com
Choosing The Right Laptop
Choosing the right laptop is crucial for a smooth streaming experience. Whether you’re streaming games, videos, or live content, your laptop’s performance can make or break your setup. Let’s dive into the essentials you need to consider.
System Requirements
First, check the system requirements for streaming platforms like Twitch or YouTube. Most platforms have specific needs for optimal performance.
Your laptop should have at least an Intel i5 processor or AMD Ryzen 5. Aim for 8GB of RAM at a minimum; 16GB is ideal for multitasking.
Don’t forget the graphics card. An NVIDIA GTX 1650 or AMD Radeon RX 560 should be your baseline.
If you use OBS or similar software, ensure your laptop supports hardware encoding. It helps in reducing CPU load and maintaining stream quality.
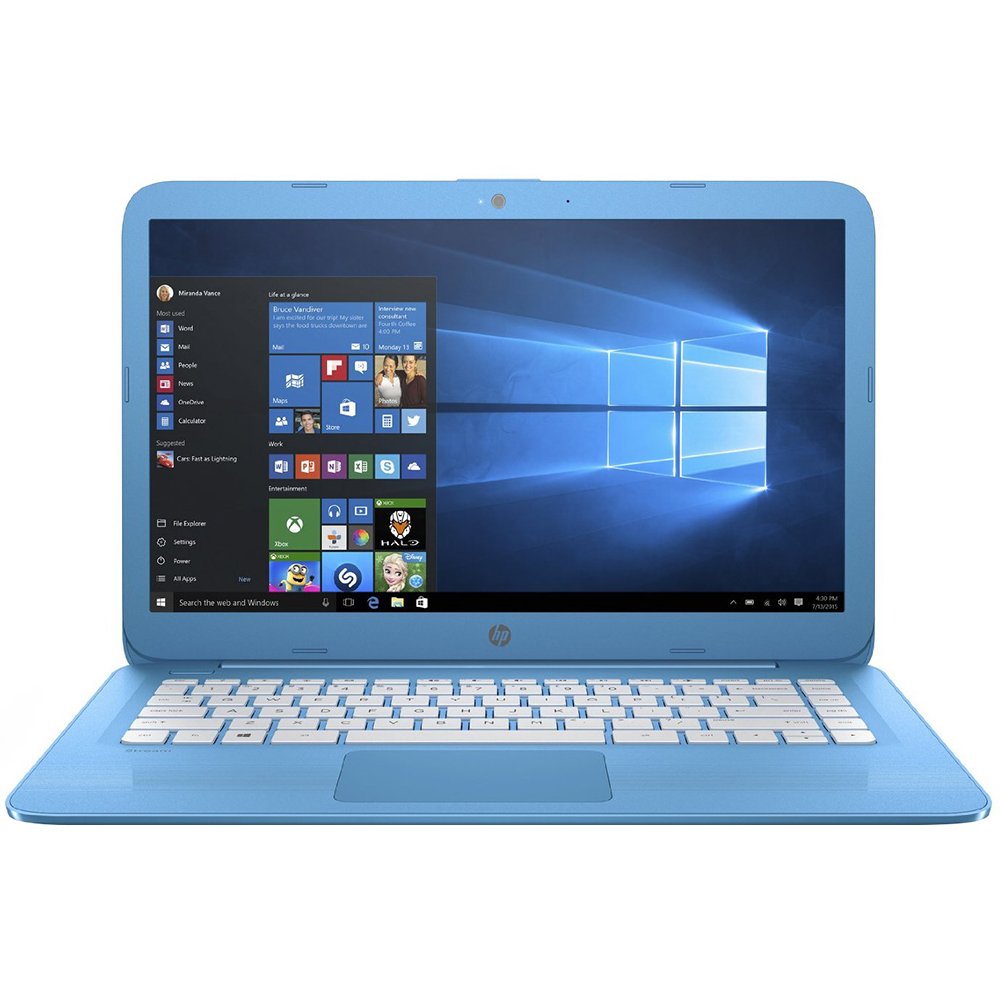
Recommended Brands
Several brands offer laptops designed for streaming. Dell, ASUS, and HP are among the top choices.
Personally, I’ve had great experiences with ASUS ROG series for gaming streams. They offer robust performance and great cooling systems.
For a more budget-friendly option, consider Acer Predator. It’s a solid choice with good specs without breaking the bank.
Remember, your laptop is the cornerstone of your streaming setup. Investing in the right one will save you headaches down the road.
What are your laptop preferences for streaming? Share your thoughts below!
Setting Up Streaming Software
Setting up streaming software is crucial for a smooth streaming experience. The right software helps you connect with your audience. It also ensures high-quality video and audio. Below, we will explore two popular options: OBS Studio and Streamlabs OBS.
Obs Studio
OBS Studio is a free, open-source software for streaming. It is highly customizable and supports various plugins. You can download OBS Studio from its official website. Once installed, follow these steps to set it up:
First, open OBS Studio and go to ‘Settings’. Choose your preferred streaming platform, such as Twitch or YouTube. Enter your stream key, which you can find on your streaming platform’s dashboard. Next, adjust your video settings. Select the resolution and frame rate that suit your needs. Finally, set up your audio sources. Add your microphone and desktop audio to capture your voice and system sounds.
OBS Studio allows you to create different scenes. Each scene can have multiple sources like video, images, and text. This feature helps you switch between different layouts during your stream. Spend some time exploring the software. Familiarize yourself with its features and settings.
Streamlabs Obs
Streamlabs OBS is another popular streaming software. It is built on OBS Studio but offers additional features. Download Streamlabs OBS from its website. Install and open the software. You will be prompted to log in with your streaming platform account. This makes it easy to connect to Twitch, YouTube, or Facebook.
Streamlabs OBS offers many built-in widgets and themes. These help you customize your stream’s appearance. Add alerts, chat boxes, and donation goals to engage your audience. The software also has a user-friendly interface. Beginners will find it easier to navigate compared to OBS Studio.
To set up your stream, go to ‘Settings’ and enter your stream key. Adjust your video and audio settings. Just like with OBS Studio, choose the resolution and frame rate that work best for you. Add your microphone and desktop audio sources. Finally, explore the various widgets and themes available. Customize your stream to reflect your personality and style.
Both OBS Studio and Streamlabs OBS offer powerful tools for streamers. Choose the one that best fits your needs and start streaming today.
Creating A Streaming Account
Creating a streaming account is the first step to sharing your content. You will need to choose a platform and set up an account. This process is simple and straightforward. Here, we will guide you through creating accounts on two popular platforms: Twitch and YouTube.
Twitch
To stream on Twitch, you need an account. Go to the Twitch website. Click “Sign Up” at the top right. You will see a form. Fill in your details. This includes your username, password, date of birth, and email. Click “Sign Up” to complete the process. Verify your email address through the link sent to your inbox. Now, you can start setting up your channel. Add a profile picture, banner, and bio. These elements help personalize your channel.
Youtube
Streaming on YouTube requires a Google account. Go to the YouTube website. Click “Sign In” at the top right. If you do not have a Google account, click “Create account.” Follow the steps to set up your account. Once your Google account is ready, you can set up your YouTube channel. Click on your profile picture and select “Your channel.” Customize your channel with a profile picture, banner, and channel description. You are now ready to start streaming.
Credit: www.youtube.com
Configuring Your Stream
Configuring your stream is crucial for delivering high-quality content to your audience. Whether you’re streaming games, tutorials, or live events, setting up your stream correctly ensures a smooth experience. In this section, we will cover important aspects like resolution and bitrate, and audio settings.
Resolution And Bitrate
Setting the right resolution is key. It determines the clarity of your stream. Common resolutions are 720p and 1080p. Choose based on your internet speed and laptop capabilities.
Bitrate affects the quality and stability of your stream. A higher bitrate gives better quality but needs more bandwidth. Aim for a balance that suits your internet speed.
Audio Settings
Good audio is essential. It keeps viewers engaged. Use a quality microphone for clear sound. Adjust the audio levels to avoid distortion.
Check your audio settings in your streaming software. Ensure the volume is not too loud or too quiet. Test your audio before going live.
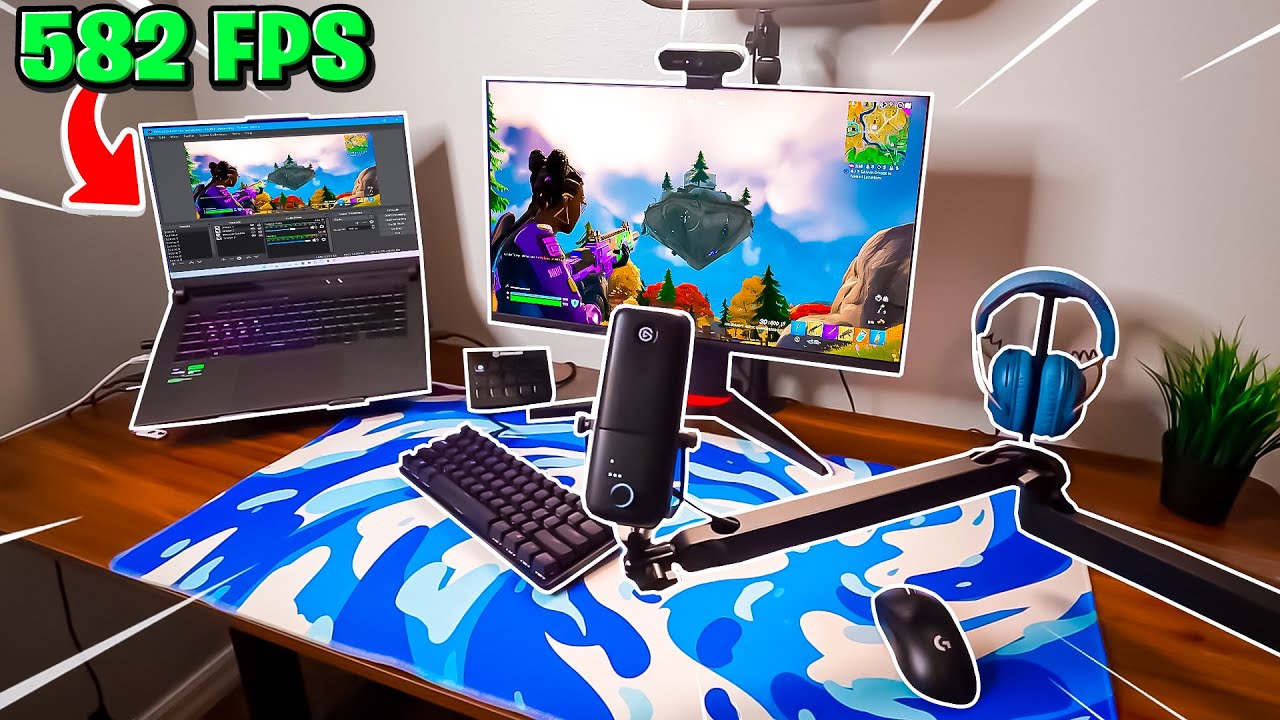
Setting Up Hardware
Ensure your laptop has a good internet connection. Connect a quality webcam and microphone for clear video and audio. Use streaming software like OBS to start streaming.
Setting up your hardware is crucial when streaming with a laptop. The quality of your stream heavily relies on the equipment you use. You want your audience to have the best experience possible, so investing in the right hardware can make a huge difference.Microphone And Camera
A clear microphone is essential. Your viewers need to hear you without any distortions. A USB microphone, like the Blue Yeti, offers great quality and is easy to set up. Simply plug it into your laptop, adjust the settings, and you’re good to go. A high-definition camera is equally important. Built-in laptop cameras usually don’t cut it. Consider investing in a webcam like the Logitech C920. It delivers sharp images and works well even in low-light conditions. Position it at eye level for the best angle.Lighting And Green Screen
Good lighting can transform your stream. Natural light is ideal, but it’s not always reliable. Softbox lights or ring lights are popular choices among streamers. They provide consistent lighting and help eliminate shadows. Place them in front of you but slightly off to the side to avoid glare. A green screen can add a professional touch. It allows you to change your background, making your stream more engaging. Setting it up is simple. Hang it behind you and ensure it’s well-lit. Use software like OBS to replace the green background with any image or video. What hardware upgrades have you found most effective for streaming? Share your experiences in the comments below!Customizing Your Stream
Customizing your stream makes it unique and engaging for viewers. Personal touches can make your channel stand out and reflect your personality. Here’s how to start customizing your stream using a laptop.
Overlays And Alerts
Overlays add a professional look to your stream. They include borders, frames, and graphics that appear on top of your video. Overlays can highlight your webcam, recent followers, or donations.
Alerts notify you and your viewers of events like new followers or donations. They add excitement and keep your audience engaged. Many free and paid options are available online.
Stream Branding
Branding is essential for creating a memorable stream. Start with a unique logo. A logo represents your stream and makes it recognizable.
Use consistent colors and fonts. This consistency helps viewers remember your channel. Create custom panels for your Twitch profile. Panels provide information about you and your stream schedule.
Consider using a custom intro video. An intro video welcomes viewers and sets the tone for your stream. Keep it short and engaging.
Testing Your Stream
Testing your stream is a crucial step to ensure your live broadcast goes off without a hitch. It helps you identify and fix any problems before your audience tunes in, ensuring a smooth and enjoyable streaming experience. Let’s dive into the key areas you need to focus on while testing your stream.
Running Test Streams
Before going live, run a few test streams. This allows you to check your audio and video quality. It also helps in determining if your internet connection is stable enough for streaming.
During these test streams, monitor how your laptop handles the load. Pay attention to CPU and memory usage. If your system struggles, consider closing unnecessary applications to free up resources.
Use the test stream to experiment with different settings. Adjust your resolution and bitrate to find the best balance between quality and performance. This is especially important if you have a mid-range laptop.
Troubleshooting Common Issues
Even with the best preparations, issues can still arise. Here are some common problems and how to address them:
- Audio Sync Issues: If your audio is out of sync with your video, try adjusting the audio delay settings in your streaming software. This can usually be found in the advanced settings.
- Lagging or Dropped Frames: Lower your bitrate or resolution. Also, ensure your internet connection is stable. Consider using a wired connection for better reliability.
- Overheating: Ensure your laptop is well-ventilated. Use a cooling pad to help manage heat. Overheating can cause performance drops and crashes.
Have you ever faced a problem right in the middle of a stream? It’s frustrating, right? That’s why thorough testing and troubleshooting are essential.
By spending time on these steps, you ensure a smoother streaming experience for both you and your audience. What’s your biggest streaming challenge? Share your thoughts and let’s tackle them together!

Credit: www.walmart.com
Engaging With Your Audience
Streaming with a laptop opens up a world of possibilities for connecting with people all over the globe. But how do you ensure your audience remains engaged and keeps coming back for more? The key lies in how you interact with them. Let’s dive into two crucial aspects: Chat Interaction and Building a Community.
Chat Interaction
Engaging with your audience in real-time through chat can make your streams more interactive and enjoyable. Respond to comments as they come in. This makes your viewers feel valued and heard.
Ask questions to prompt responses. This can range from simple queries about their day to more specific questions related to your stream content. Keep the conversation flowing and lively.
Use chat features to your advantage. For example, if you’re streaming on Twitch, tools like emotes and polls can make interactions more fun and engaging. Remember, your audience wants to be part of the experience, not just a passive observer.
Building A Community
Creating a loyal community around your stream is essential for long-term success. Encourage your viewers to follow and subscribe. Offer exclusive content or perks to your subscribers to make them feel special.
Share snippets of your personal life or behind-the-scenes moments. This makes you more relatable and helps build a personal connection with your viewers.
Consider creating a Discord server or Facebook group for your audience to interact with you and each other outside of your streams. This fosters a sense of belonging and keeps your community engaged even when you’re not streaming.
Remember, the goal is to create a space where your viewers feel connected and involved. What strategies will you try to make your audience feel more engaged and appreciated?
Frequently Asked Questions
Can You Stream With A Laptop?
Yes, you can stream with a laptop. Ensure it has a strong processor, sufficient RAM, and a reliable internet connection. Use streaming software like OBS or Streamlabs for the best experience.
Are Laptops Good For Streaming?
Yes, laptops are good for streaming. Choose one with a powerful processor, ample RAM, and a dedicated GPU for smooth performance. High-quality display and reliable internet connection ensure an excellent streaming experience.
How Do I Stream My Laptop Screen?
To stream your laptop screen, use software like OBS or apps like Zoom and Google Meet. Connect and select “Share Screen”.
What Equipment Do I Need To Start Live Streaming?
You need a good camera, microphone, stable internet, streaming software, and a computer to start live streaming.
Conclusion
Streaming with a laptop is simple and fun. Follow the steps provided. You’ll enjoy sharing your content online. Remember to check your internet speed. Use good lighting and sound equipment. Practice to improve your skills. Streaming can be a great hobby or even a career.
Stay patient and keep learning. Happy streaming!