
How to Invoke Streamdeck Screen Saver: A Step-by-Step Guide
To invoke the Streamdeck screen saver, follow a few simple steps. It’s a quick process that enhances your device’s functionality.
The Streamdeck is a powerful tool for streamers and professionals. It offers customizable keys for various tasks. One lesser-known feature is its screen saver mode. This mode can display useful information or graphics when the device is not in use.
Setting up the screen saver is easy and can add a touch of personalization to your setup. Whether you want to display your logo, show the time, or simply enjoy some cool visuals, invoking the Streamdeck screen saver is a neat trick to learn. Let’s explore how you can set this up in just a few minutes.
Requirements
To invoke the Streamdeck screen saver, you need certain requirements. These are essential to ensure a smooth setup and operation. Let’s dive into what you need to get started.
Necessary Hardware
The first requirement is the Streamdeck device itself. This is a physical device with customizable buttons. You need a computer with a USB port. This is where you will connect your Streamdeck. Make sure your computer is in good working condition.
Software Prerequisites
Install the Streamdeck software on your computer. This software helps you customize and control the device. Ensure you have the latest version for best performance. You also need the screen saver plugin. This plugin lets your Streamdeck act as a screen saver. Download it from the Streamdeck store.
Make sure your operating system is compatible. Streamdeck supports Windows and macOS. Check the software requirements before downloading. The software needs enough memory and storage space. Ensure your computer meets these specifications.
Installing Streamdeck Software
Installing Streamdeck Software is the first step toward unlocking the full potential of your Streamdeck device. Whether you are a gamer, a streamer, or someone who loves customizing their workflow, the Streamdeck software can make your life a lot easier. Let’s dive into the process of getting it set up on your computer.
Download And Installation
First, head over to the official Elgato website. You can find the Streamdeck software under the ‘Downloads’ section. Choose your operating system (Windows or Mac) and click the download button.
Once the download is complete, open the installer file. Follow the on-screen instructions to install the software. It’s a straightforward process, and you’ll have the software up and running in no time.
Initial Setup
After the installation, launch the Streamdeck software. The first thing you’ll need to do is connect your Streamdeck device to your computer via USB. The software should automatically detect your device.
You’ll be greeted with a simple and intuitive interface. Start by adding a few actions to your Streamdeck keys. Drag and drop the actions from the right-hand menu to the key slots on the screen.
Customizing the keys is fun and easy. You can assign functions like launching applications, opening websites, or even controlling your smart lights. The possibilities are endless and tailored to your needs.
Have you ever wondered how much time you can save with a few customized buttons? Once you start using the Streamdeck, you’ll likely wonder how you ever managed without it. Give it a try and see how it can transform your daily routine.
Configuring Streamdeck
Configuring your Streamdeck can enhance your workflow. It allows you to access applications and shortcuts with just a press of a button. Let’s explore how to set up your Streamdeck and customize it to fit your needs.
Connecting Streamdeck Device
First, connect your Streamdeck to your computer using the USB cable. Once connected, the Streamdeck software should recognize the device. If it doesn’t, ensure you have installed the latest Streamdeck software.
Open the Streamdeck software. You should see a visual representation of your device on your screen. Each button on your Streamdeck will correspond to a button on this interface. This makes customization easy and intuitive.
Customizing Buttons
To customize a button, drag and drop actions from the right-hand menu to the button you want to configure. Common actions include launching applications, creating hotkeys, and controlling multimedia. You can also add custom icons to your buttons for easy identification.
For example, to create a shortcut for launching a browser, drag the “Website” action to a button. Enter the URL and give it a name. You can also upload an image that represents the browser. Now, pressing this button will open your browser to the specified URL.
Continue customizing buttons until your Streamdeck is configured to your liking. Remember, you can always change these settings later if your needs change.
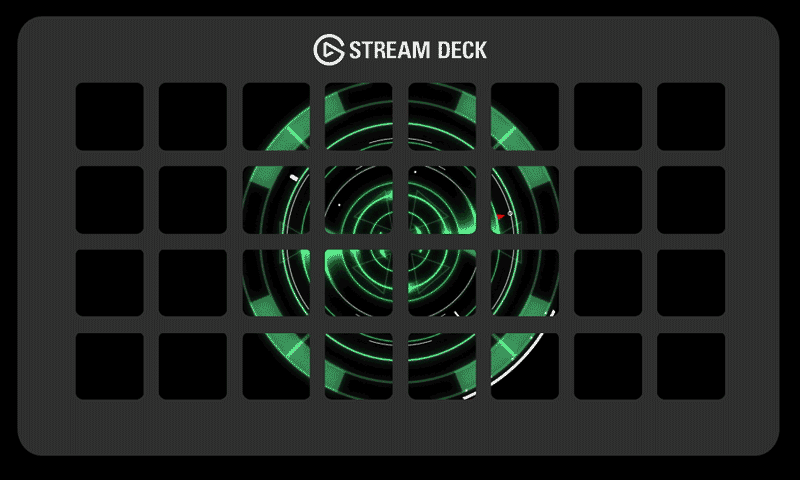
Credit: www.sideshowfx.net
Accessing Screen Saver Settings
Quickly access Streamdeck’s screen saver settings through the control panel. Customize your screen saver to fit your preferences effortlessly. Simple steps make it easy for anyone to set up.
Accessing Screen Saver Settings Accessing the screen saver settings on your Streamdeck is simpler than you might think. It’s all about knowing where to click and what options to select. This section will guide you through it.Navigating To Settings
First, open the Streamdeck software on your computer. Look for the gear icon, usually located in the upper right corner. Clicking this icon will take you to the settings menu.Screen Saver Options
Once in the settings menu, find the “Screen Saver” tab. Here, you will see a range of options such as different screen saver styles and activation times. Choose the style that suits your preference and set the time after which the screen saver should activate. Have you ever customized your screen saver before? If not, this is a good opportunity to add a personal touch to your Streamdeck.Creating A Screen Saver Profile
Creating a Screen Saver Profile for your Streamdeck can enhance your setup. This feature allows you to personalize the idle state of your device. Follow these steps to create and assign a screen saver profile.
Profile Creation
First, open the Streamdeck software on your computer. Navigate to the ‘Profiles’ section in the settings. Click the ‘New Profile’ button to create a new profile. Name your profile something related to the screen saver.
Choose an icon for easy identification. This icon will appear in the Streamdeck interface. Save the profile after making these selections.
Assigning Screen Saver
To assign a screen saver, go to the ‘Actions’ section. Find the ‘System’ category. Drag the ‘Screen Saver’ action to an empty button on your Streamdeck. This action will trigger your screen saver.
You can customize the screen saver settings in your computer’s display settings. Make sure to test the screen saver action. Press the button on your Streamdeck to ensure it works correctly.
Your new screen saver profile is now ready to use. It will activate when your Streamdeck is idle, adding a personal touch to your setup.
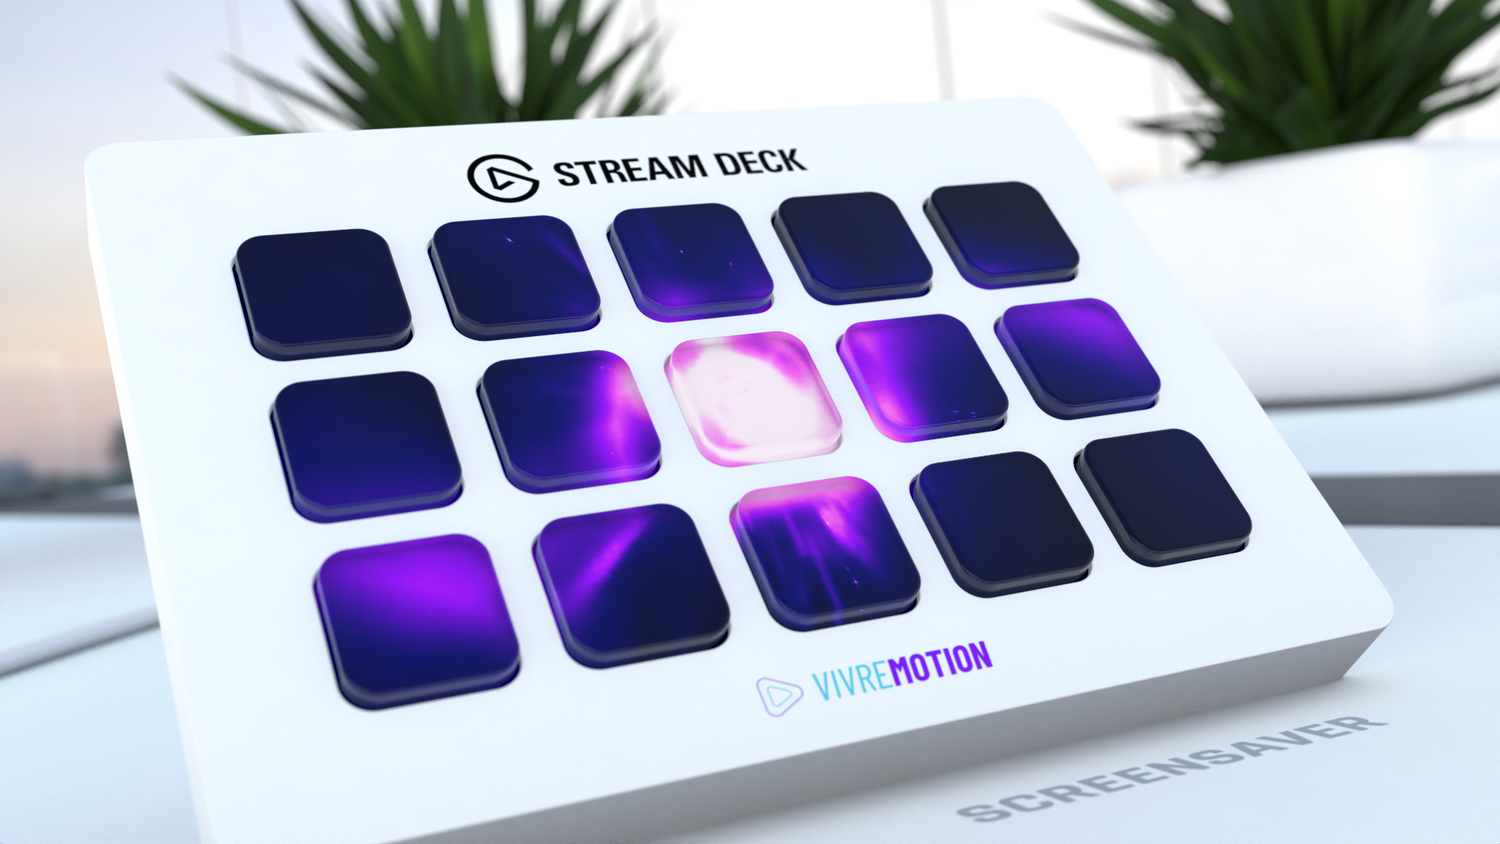
Credit: vivre-motion.com
Invoking The Screen Saver
Invoking the Streamdeck Screen Saver can enhance your productivity and add a layer of customization to your workspace. Whether you want to display your favorite images or simply give your monitor a break, it’s a handy feature. Let’s dive into how you can easily activate the screen saver and troubleshoot any issues that may arise.
Activating Via Button
First things first, you need to set up a dedicated button for the screen saver on your Streamdeck. Open the Streamdeck software and navigate to the available actions.
Drag and drop the “System” action into one of your Streamdeck buttons. From the dropdown menu, select “Screen Saver.” This action will now activate your screen saver with a single press.
If you want to customize it further, you can add a personalized icon to the button. This makes it easier to identify and adds a personal touch to your Streamdeck.
Troubleshooting Common Issues
Sometimes, things don’t go as planned. If your screen saver doesn’t activate, make sure your Streamdeck software is up-to-date. An outdated version can cause compatibility issues.
Check your system settings to ensure that the screen saver is enabled. Go to your computer’s display settings and verify that a screen saver is selected and configured properly.
Another common issue is the button not being assigned correctly. Double-check the action assigned to your Streamdeck button. Make sure it is set to “Screen Saver” and not another action by mistake.
Have you ever found yourself stuck with a technical issue that seems impossible to resolve? Sometimes, all it takes is a simple restart. Try restarting both your computer and Streamdeck to see if that resolves the problem.
What other challenges have you faced with your Streamdeck? Share your experiences in the comments below and let’s troubleshoot together!
Advanced Customization
Customizing your Streamdeck screen saver can be an exciting journey. Imagine having a screen saver that not only looks great but also showcases your personality. This section will guide you through advanced customization techniques, making your screen saver a true reflection of your style.
Adding Multimedia Elements
Adding multimedia elements to your screen saver can elevate its appeal. Think about incorporating your favorite photos or videos.
You can easily add these elements by dragging and dropping them into the Streamdeck software. To make it more interactive, consider adding sound clips or music.
Experiment with different formats and see what works best for you. Have you ever thought about adding a short video of your recent vacation? It’s a great way to relive those memories every time your screen saver activates.
Scheduling Screen Savers
Scheduling your screen savers adds a layer of convenience. You can set different screen savers to activate at different times of the day.
This is especially useful if you have a work-from-home setup. Maybe you want a professional-looking screen saver during work hours and a fun, relaxed one in the evening.
To do this, go to the scheduling section in the Streamdeck software. Set the start and end times for each screen saver. Have you ever wished your screen saver could change with your mood? Now it can!
What’s your favorite way to customize your screen saver? Share your tips and tricks in the comments below!

Credit: marketplace.elgato.com
Frequently Asked Questions
How Do You Activate Screensaver On Stream Deck?
To activate the screensaver on Stream Deck, open the Stream Deck software. Select a key and assign the “Screensaver” action. Save your changes. Your screensaver will activate when the Stream Deck is idle.
How Do You Activate Screen Saver?
To activate the screen saver, go to Settings > Personalization > Lock Screen > Screen Saver Settings. Select your preferred screen saver and set the wait time.
How Do I Save My Stream Deck Settings?
To save your Stream Deck settings, open the Stream Deck software. Go to “Preferences,” then click on “Profiles. ” Select “Export” to save your settings.
How Do I Change My Screen Saver Display?
Go to Settings, select Personalization, then click on Lock Screen. Choose your screen saver from the options provided.
Conclusion
Activating the Streamdeck screen saver is straightforward. Follow the steps outlined. Your device will be more secure. You can personalize your screen saver settings. This adds a touch of fun. It also helps in preserving your screen. Remember to check for updates.
This ensures smooth performance. Enjoy your enhanced Streamdeck experience. Happy customizing!