How to Stream And Record at the Same Time Obs: Ultimate Guide
Streaming and recording at the same time with OBS can seem tricky. But it’s easier than you might think.
OBS Studio is a powerful tool that many streamers use. It allows you to broadcast live and capture your screen. Doing both at once can help you create content for different platforms. You can reach live audiences and have recorded videos for later use.
This guide will show you step-by-step how to set up OBS Studio for dual tasks. Whether you are new to OBS or looking to fine-tune your setup, you’ll find this information helpful. Get ready to enhance your content creation skills with ease.

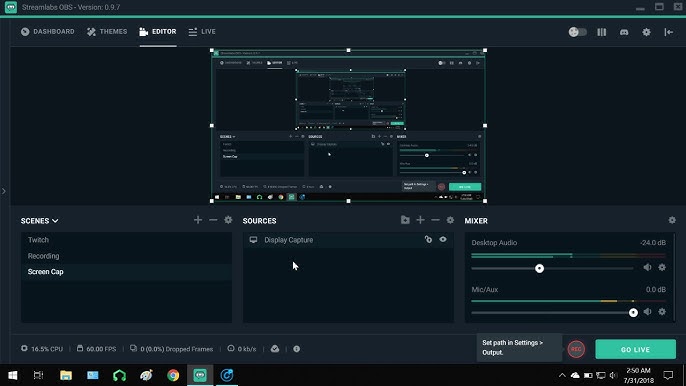
Credit: www.youtube.com
Setting Up Obs
Setting up OBS (Open Broadcaster Software) is essential for streaming and recording. This guide will walk you through the process. We’ll cover downloading, installing, and initial configuration.
Downloading Obs
First, visit the official OBS website. Choose your operating system: Windows, macOS, or Linux. Click the download button. The file will start downloading. Wait for it to complete.
Installing Obs
After downloading, locate the file on your computer. Double-click to open it. Follow the on-screen instructions. Agree to the terms and conditions. Choose the installation location. Click ‘Install’. Wait for the process to finish.
Initial Configuration
Once installed, open OBS. The setup wizard will appear. Click ‘Yes’ to start the Auto-Configuration Wizard. Select your streaming service from the list. Enter your stream key. OBS will test your system. It will optimize settings for your hardware. Click ‘Apply Settings’ to finish.
Now, you are ready to start streaming and recording. Make sure to check your audio and video settings. Adjust them as needed for the best quality.
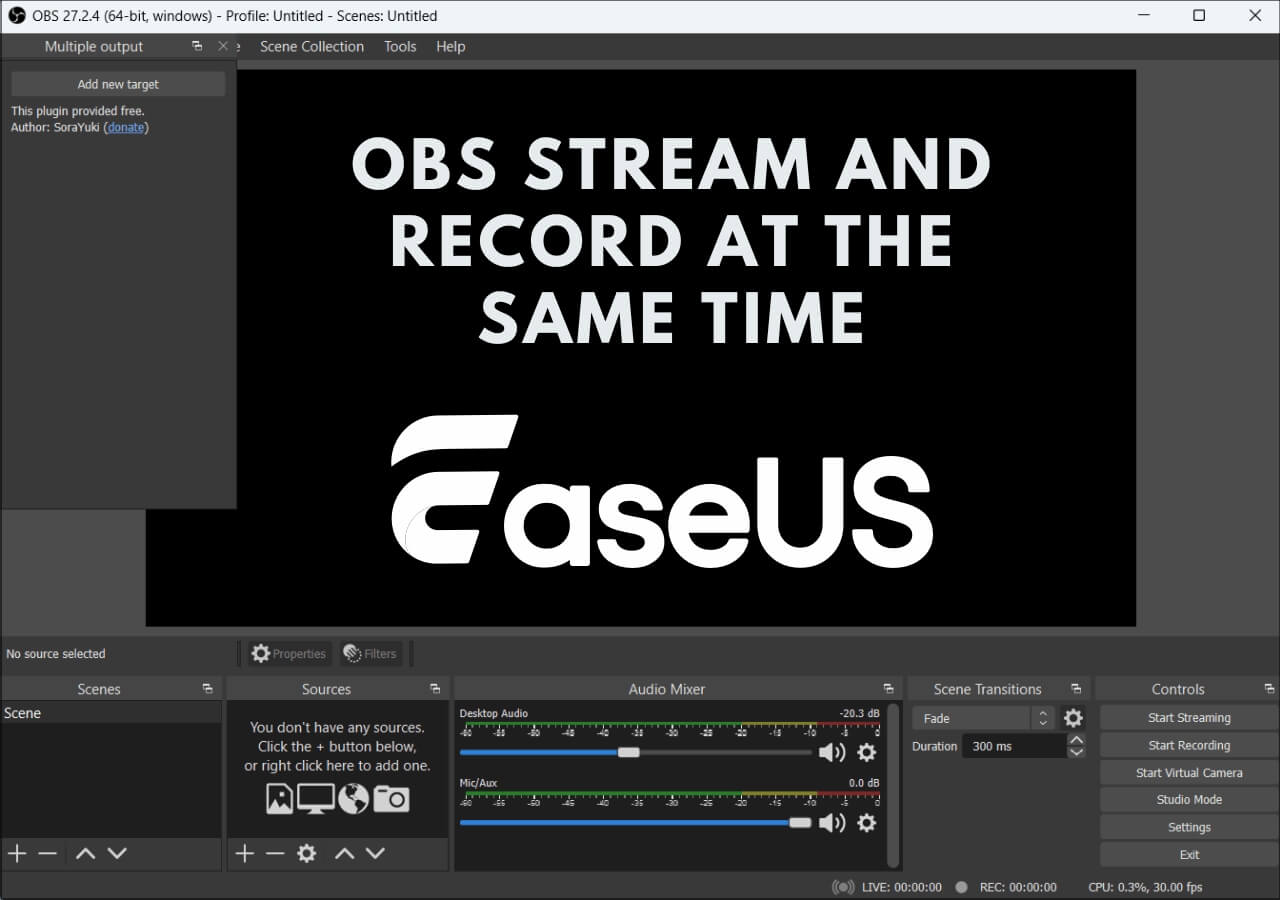
Credit: recorder.easeus.com
Configuring Obs For Streaming
Configuring OBS for streaming can seem difficult. But with the right steps, it becomes manageable. This section will guide you through setting up OBS for streaming. We will focus on choosing a platform, setting up your stream key, and optimizing your stream settings.
Choosing A Streaming Platform
First, you need to choose where to stream. Popular platforms include Twitch, YouTube, and Facebook. Each has its own benefits and audience. Decide where your content fits best. Create an account if you don’t have one.
Setting Up Stream Key
Next, you need your stream key. This is unique to your account. It links OBS to your streaming platform. Go to your account settings on your chosen platform. Look for the stream key option. Copy the key.
In OBS, go to Settings. Select the Stream tab. Choose your platform from the Service dropdown. Paste your stream key into the Stream Key box. Click Apply, then OK. Your OBS is now linked to your platform.
Optimizing Stream Settings
Optimizing your stream settings ensures smooth and high-quality streams. First, check your internet upload speed. Sites like Speedtest can help. Based on your speed, set your bitrate. A good starting point is 2500 to 5000 kbps.
Next, adjust your resolution. 720p is a good balance of quality and performance. Set your frame rate to 30 or 60 fps. Lower frame rates use less bandwidth. Finally, test your stream. Adjust settings as needed to prevent lag or buffering.
These steps will help you configure OBS for streaming. With practice, it will become easier and more intuitive.
Configuring Obs For Recording
Setting up OBS for recording is crucial for high-quality content. This guide will help you configure OBS efficiently. Follow these simple steps to ensure your recordings are top-notch.
Selecting Recording Path
First, choose a location to save your recordings. Go to the “Settings” menu. Click on the “Output” tab. Find the “Recording Path” section. Select a folder on your computer. Ensure it has enough storage space. Organizing your files will be easier with a dedicated folder.
Choosing Recording Format
Next, select the format for your recordings. In the “Output” tab, locate the “Recording Format” dropdown menu. MP4 and MKV are popular choices. MP4 is widely compatible with video players. MKV is suitable for longer recordings. Choose the format that best fits your needs.
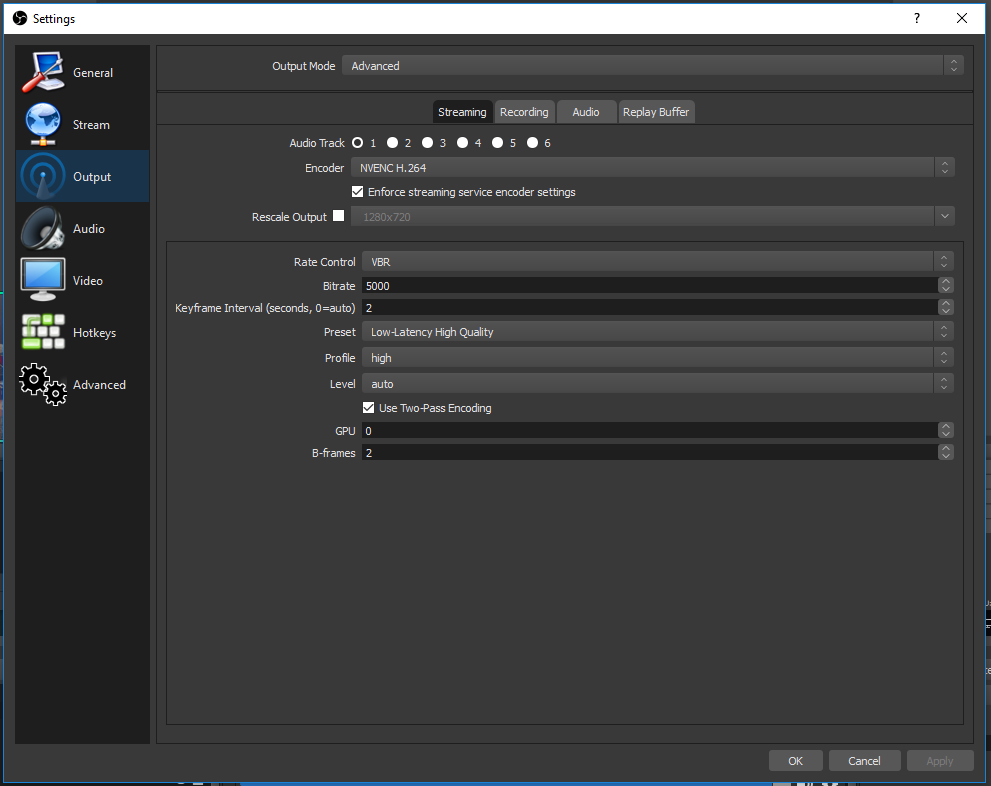
Adjusting Recording Settings
Now, fine-tune the recording settings. Still in the “Output” tab, find the “Recording Quality” dropdown. Select the desired quality level. Higher quality means larger file sizes. Then, adjust the “Encoder” settings. Software encoder (x264) offers good quality. Hardware encoder (NVENC) uses your graphics card. Choose the encoder that suits your hardware.
Finally, check the “Bitrate” settings. Higher bitrate provides better video quality. Lower bitrate conserves disk space. Balance quality and file size based on your needs. Test different settings to find the best combination. Your recordings will look professional with the right adjustments.
Managing Audio Sources
Managing audio sources is critical for a smooth streaming and recording experience with OBS. Proper audio management ensures your audience hears you clearly, along with any other audio elements you include. This section will guide you on how to add and balance different audio sources in OBS.
Adding Microphone Audio
First, you need to add your microphone as an audio source. Go to the ‘Sources’ panel and click the ‘+’ button. Select ‘Audio Input Capture’ from the list. Name your audio source and click ‘OK’. Select your microphone from the dropdown menu and click ‘OK’ again. Your microphone is now added as an audio source.
Including System Audio
Next, include the system audio. This allows your audience to hear sound from your computer. Click the ‘+’ button in the ‘Sources’ panel again. Select ‘Audio Output Capture’ from the list. Name your audio source and click ‘OK’. Choose your system’s audio output device from the dropdown menu and click ‘OK’. Your system audio is now added as an audio source.
Balancing Audio Levels
Balancing audio levels is vital for a professional stream. Go to the ‘Audio Mixer’ panel in OBS. You will see sliders for each audio source. Adjust the sliders to balance the levels. Make sure the microphone is clear but not overpowering. The system audio should be audible but not too loud. Aim for a harmonious balance between all audio sources.
Setting Up Video Sources
Setting up video sources in OBS is crucial for a smooth streaming and recording experience. This guide will help you add different video sources effectively. You will learn to integrate your webcam, capture your game, and record your display. Follow these steps to ensure a seamless setup.
Adding A Webcam
To add a webcam, click the plus icon under the “Sources” box. Select “Video Capture Device” and name it. Choose your webcam from the device list. Adjust settings like resolution and frame rate. Position and resize the webcam window as needed. This helps your viewers see you clearly.
Including Game Capture
Game capture is essential for streaming gameplay. Click the plus icon under the “Sources” box. Choose “Game Capture” and name it. Select the specific game window from the application list. Use “Capture Specific Window” mode for best results. This ensures only the game is visible in the stream.
Using Display Capture
Display capture records your entire screen. Click the plus icon under the “Sources” box. Select “Display Capture” and name it. Choose the display you want to record. Adjust the capture area if necessary. This option is useful for tutorials and presentations. Make sure no unwanted windows are visible.
Advanced Obs Features
Stream and record simultaneously with OBS for a seamless experience. Adjust settings easily, ensuring high-quality video output. Enjoy flexibility with advanced features.
When it comes to streaming and recording simultaneously with OBS (Open Broadcaster Software), knowing the advanced features can significantly enhance your experience. Whether you are a seasoned streamer or just starting, mastering these advanced features can elevate the quality of your content and make your workflow more efficient. Let’s dive into some of the advanced features of OBS that can help you create professional-level streams and recordings.Using Scenes And Sources
Scenes and sources are fundamental to creating engaging content in OBS. Think of scenes as different setups or layouts for your stream. You can switch between these setups during your broadcast. For instance, you can have a scene for your game, another for your webcam, and another for your intermission. Sources are the elements within each scene. These can include video capture devices, images, text, browser windows, and more. Organize your sources logically. Place your webcam feed on top of your game capture, or add a text overlay for announcements. A practical tip: Create a “Starting Soon” scene to engage your audience while you prepare to go live. This simple addition can make your stream look more professional.Applying Filters And Effects
Filters and effects can dramatically improve the visual and audio quality of your stream. OBS allows you to apply filters to both video and audio sources. You can add color correction to your webcam to ensure you look your best. Or, use a chroma key filter if you have a green screen setup. Audio filters are equally important. Apply a noise suppression filter to eliminate background noise. Use a compressor to balance your audio levels. Experiment with these filters to find the best settings for your setup. Small adjustments can make a big difference in the final output.Setting Up Hotkeys
Hotkeys are a game-changer for managing your stream without constantly clicking around in OBS. Assign hotkeys to switch scenes, start/stop streaming, or mute/unmute audio sources. This allows you to manage your stream seamlessly, even in the middle of an intense gaming session. For example, set a hotkey to switch to your “Be Right Back” scene if you need to step away. This keeps your stream engaging even when you’re not on screen. Think about what actions you frequently perform and create hotkeys for them. It can make your streaming experience smoother and more enjoyable. By mastering these advanced OBS features, you can significantly enhance your streaming and recording setup. What advanced feature will you try first to take your stream to the next level?Troubleshooting Common Issues
Streaming and recording at the same time with OBS can be challenging. Users often face common issues that disrupt their experience. This section will help you troubleshoot these problems effectively.
Fixing Lag And Stuttering
Lag and stuttering can ruin your stream. They often occur due to high CPU usage. Start by lowering your video resolution. Adjust it to 720p or 480p. Next, reduce your bitrate. A lower bitrate can ease your CPU load. Also, close other applications. They can consume valuable resources. If the issue persists, consider upgrading your hardware.
Resolving Audio Sync Issues
Audio sync issues can confuse your viewers. To resolve this, first, check your audio settings. Make sure your microphone and desktop audio are set correctly. Next, use the “Sync Offset” feature. This can be found in the audio settings. Adjust the offset until the audio matches the video. You may need to test this a few times. Keep adjusting until it feels right.
Addressing Black Screen Problem
A black screen can be frustrating. It often occurs due to display capture issues. First, check your graphics card settings. Ensure OBS is using your dedicated GPU. Open the NVIDIA Control Panel. Go to “Manage 3D settings.” Set OBS to use the high-performance processor. If you use a laptop, disable the integrated graphics. This can help OBS capture your screen correctly.
If the black screen persists, try running OBS as an administrator. Right-click the OBS icon. Select “Run as administrator.” This can solve permission-related issues.
Tips For High-quality Streams And Recordings
Streaming and recording at the same time using OBS can seem challenging. With the right tips, you can achieve high-quality results. This section provides essential tips for enhancing your streams and recordings. Focus on key aspects to ensure both look and sound great.
Choosing The Right Bitrate
Bitrate impacts the quality of your stream and recording. A higher bitrate means better quality but requires more bandwidth. For 720p resolution, use a bitrate between 2500-4000 kbps. For 1080p resolution, aim for 4500-6000 kbps. Balance quality and your internet speed for the best results.
Optimizing Cpu Usage
OBS uses your computer’s CPU to encode video. Lower CPU usage ensures smoother performance. In OBS settings, set the CPU usage preset to “veryfast” or “superfast”. These settings lower the CPU load. Close unnecessary applications to free up resources.
Ensuring Stable Internet Connection
A stable internet connection is crucial for streaming. Use a wired connection instead of Wi-Fi. This reduces the risk of dropped frames. Check your upload speed. For a stable 1080p stream, you need at least 5 Mbps upload speed. Test your connection before starting your stream.
Credit: obsproject.com
Frequently Asked Questions
Can You Stream And Record The Same Time On Obs?
Yes, you can stream and record simultaneously on OBS. Configure your settings to enable both options for efficient usage.
Can I Record While Streaming?
Yes, you can record while streaming. Most streaming platforms offer built-in recording features. Use software like OBS Studio for more control.
How Do I Record Gameplay While Streaming Obs?
To record gameplay while streaming with OBS, select “Start Recording” in OBS settings. Ensure your scene and sources are set up.
Can I Stream And Record At The Same Time On Obs Reddit?
Yes, you can stream and record simultaneously on OBS. Just configure both settings in the OBS software.
Conclusion
Streaming and recording with OBS is simple with the right setup. Follow the steps carefully. Practice makes perfect, so keep experimenting. Soon, you’ll create high-quality content effortlessly. Happy streaming!